i guess i should be pleased that little things can bring me such unabashed pleasure. like our faucet-mounted water filter. every time i don't have to reach into the fridge for the (usually empty) brita pitcher, i am happy all over again that i bit that bullet. the cushion covers that i made for our kitchen stools are another source of absurd delight. once again, cheap ikea cushions, recycled target curtains, and leftover sewing supplies provided the source materials. this was easily a fifteen-minute project.
Materials for one cushion cover
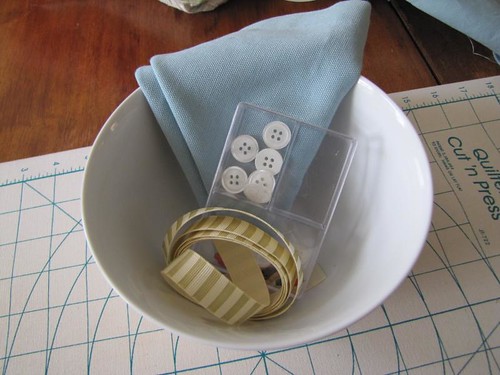
cushions or pillow inserts (mine were a dollar find at ikea)
four 18-24" lengths of ribbon, depending on stool
four buttons
two squares of fabric, each measuring 2" wider and longer than your cushion
scissors, thread, etc.
Step 1
measure your cushion, adding 2" into the width and length. cut your fabric accordingly.
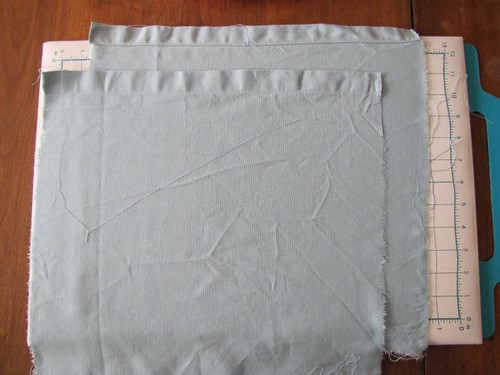 |
| Step 1 - measure and cut |
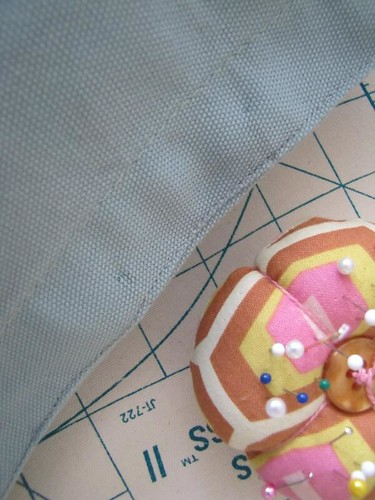
Step 2
pin right sides together and sew along three sides. in this case, i used the existing hem on my recycled curtains for the fourth side. if your fabric is not already hemmed, you'll want to press the fourth side over by about a quarter inch.
Step 3
 |
| Step 3 - sew fourth seam |
turn right side out, insert cushion into cover, and machine sew as close to the finished edge as possible.
Steps 4 and 5
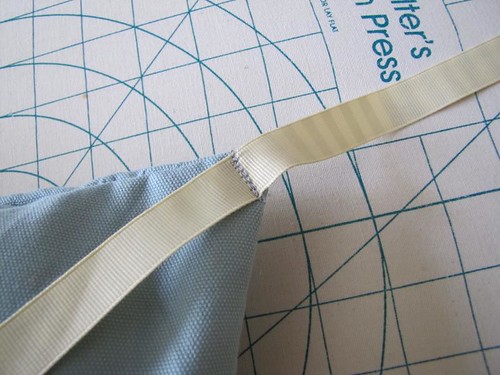 |
| Step 4 - add ties |
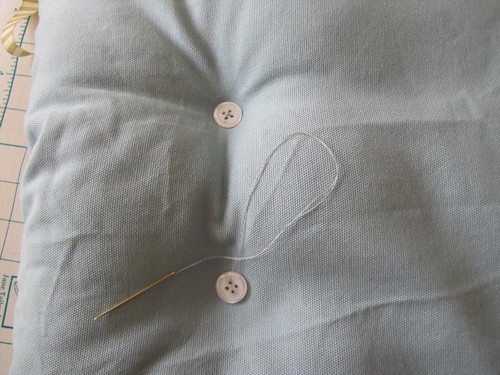 |
| Step 5 - add buttons |
fold each length of ribbon in half, and attach to each corner with a machine stitch, as shown. add buttons, being careful to center and space them appropriately.
Step 6
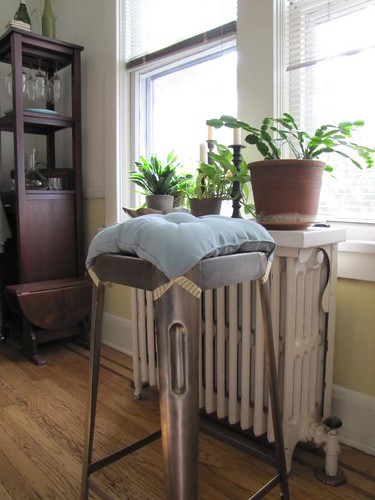 |
| a little more country, a lot more comfortable |
tie cushions to your bracingly uncomfortable, industrial-chic kitchen stools. resume normal use.
 |
| cool but crazy uncomfortable |

No comments:
Post a Comment